Home
Concept
Building Guides
Code
About Us
Contact Us
IntentSense: The Mind-Reading Bionic Glove
Build Your Own IntentSense Glove
Under Construction!
Get The Software
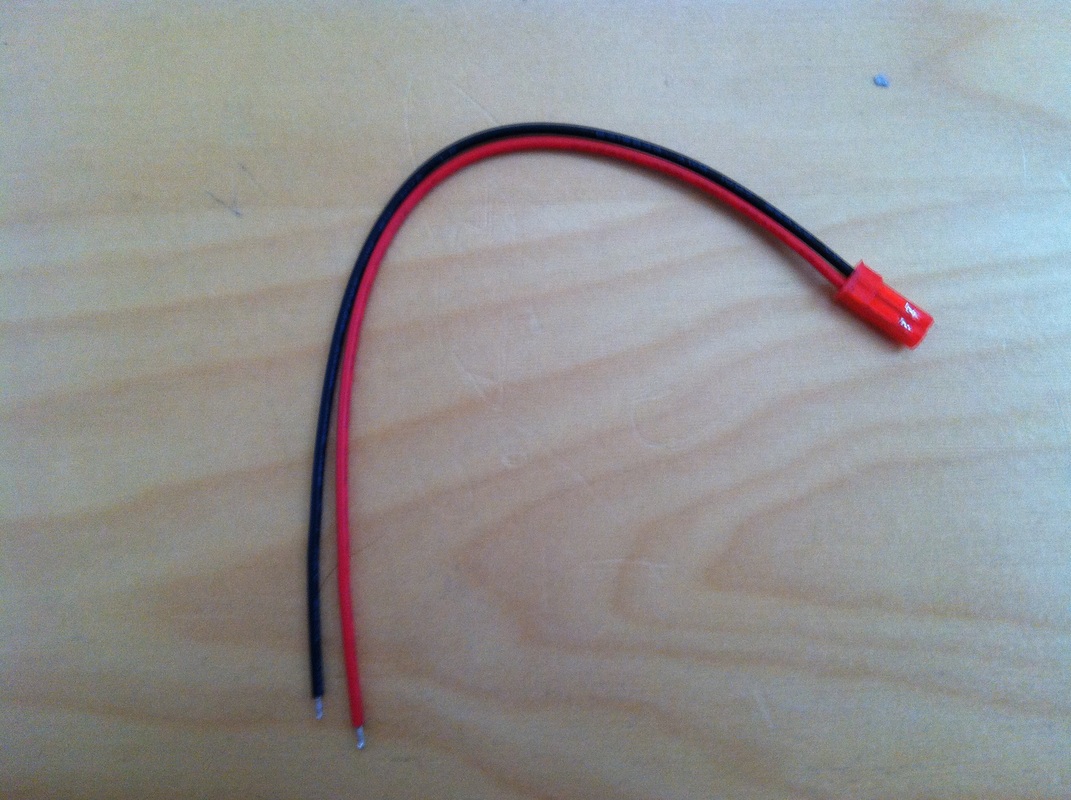
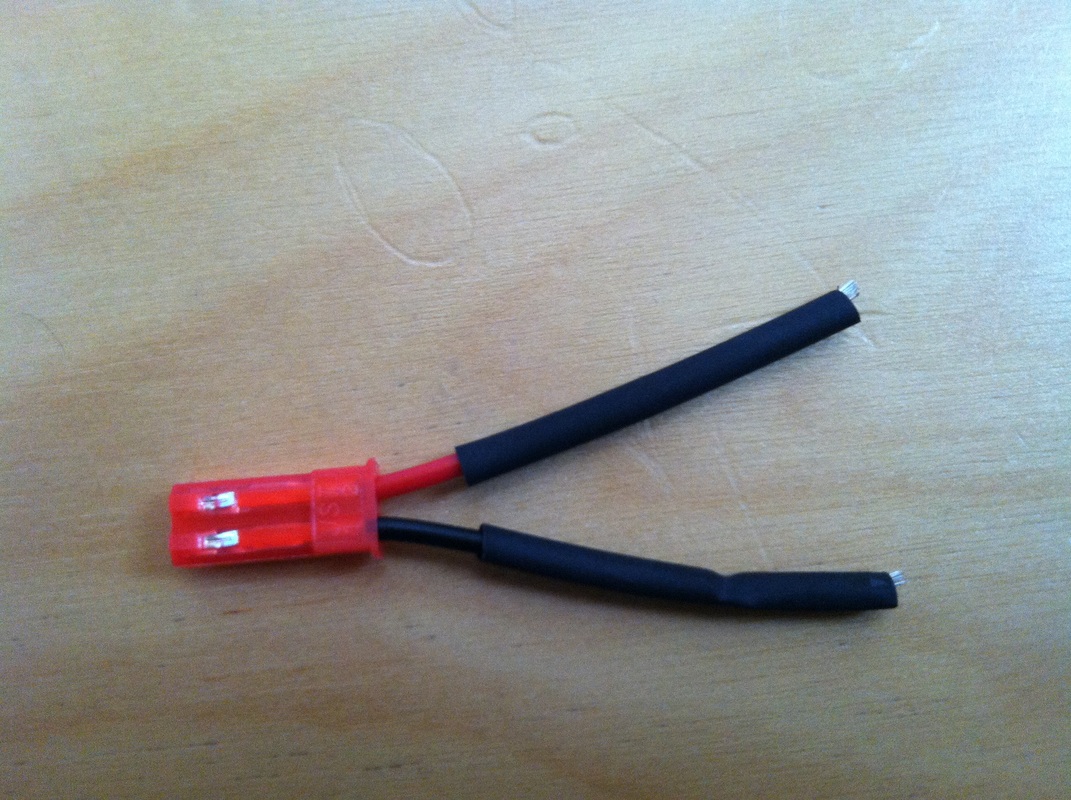
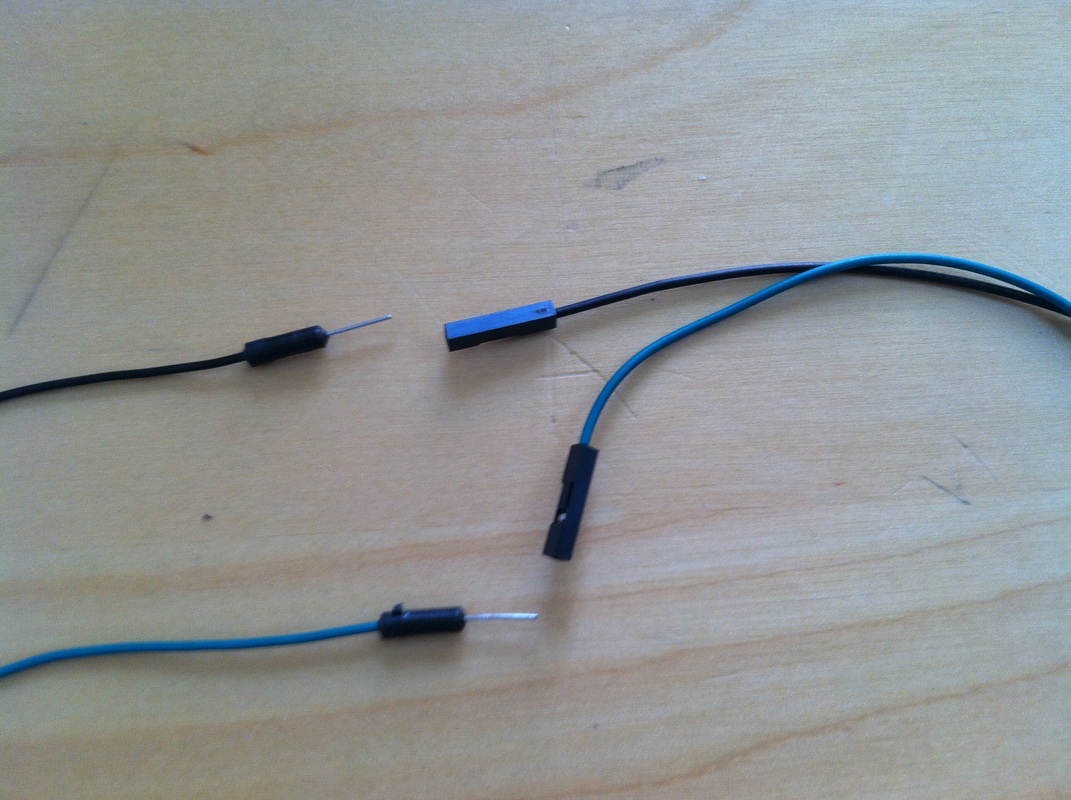
Start with a basic two-lead female connector.
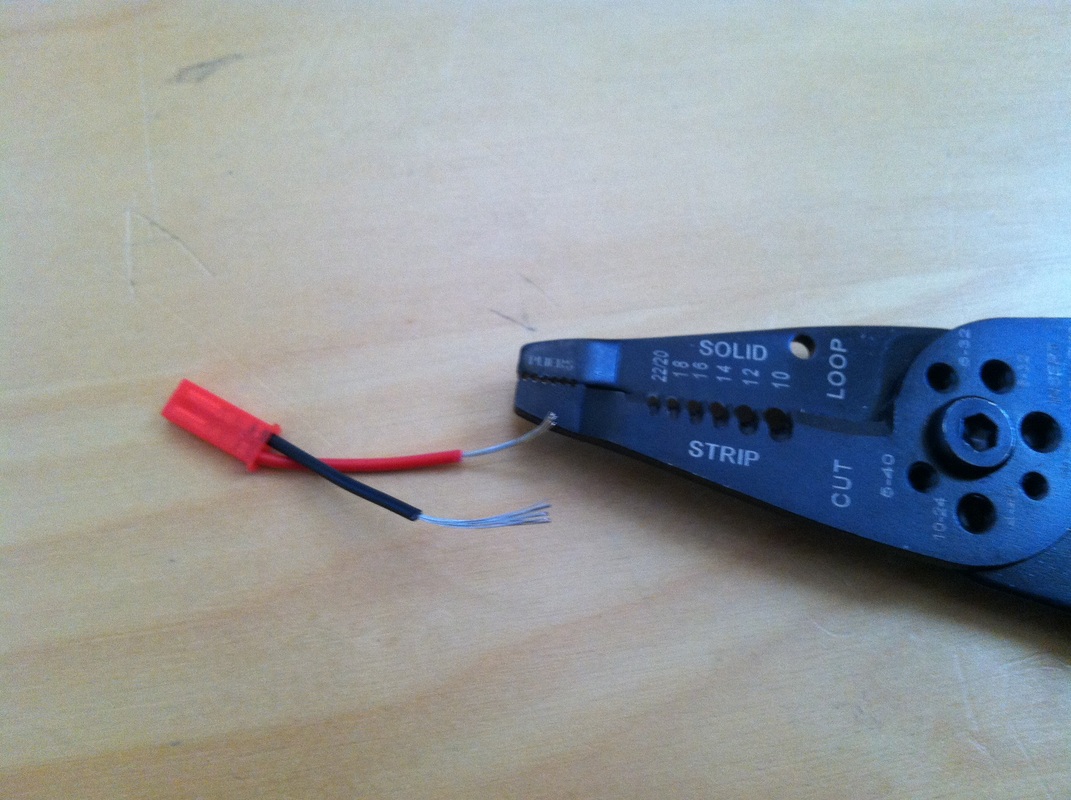
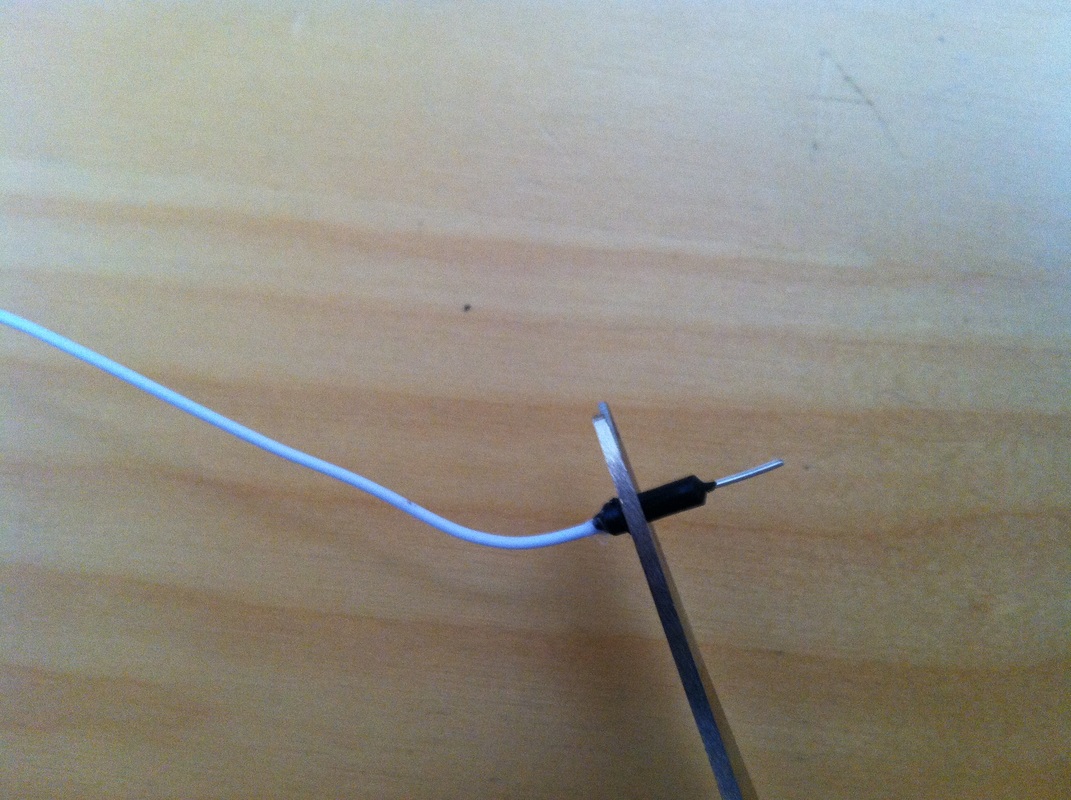
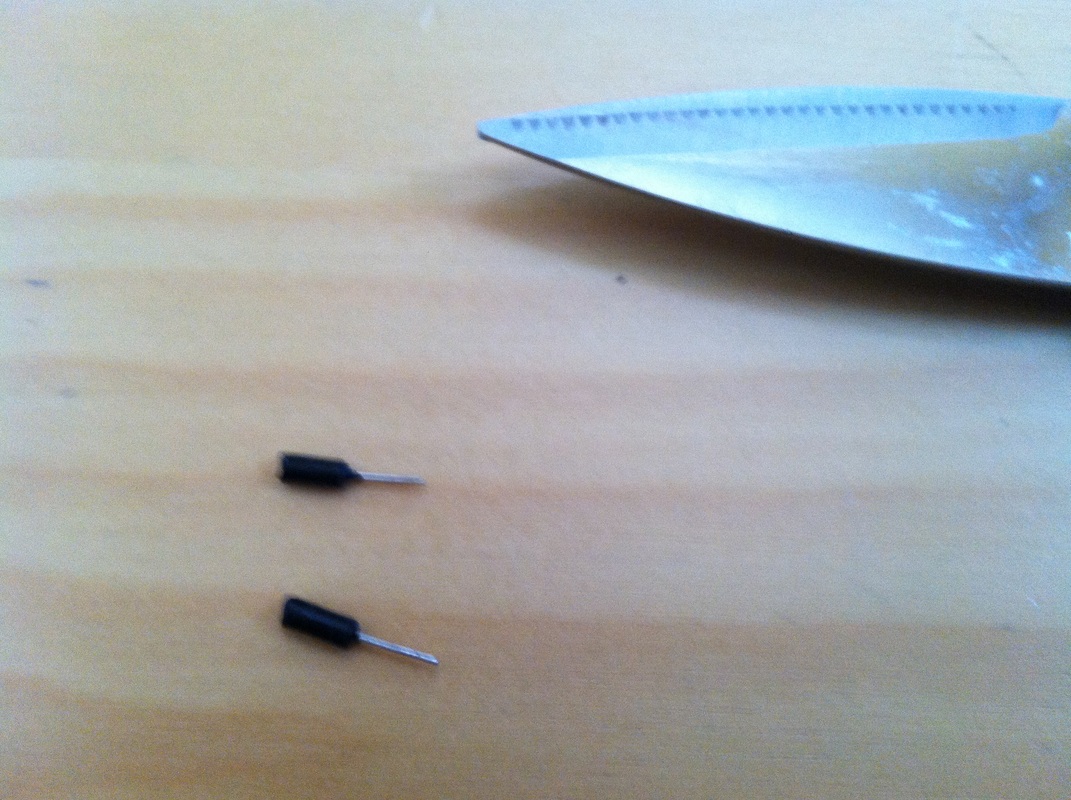
Cut the excess off.
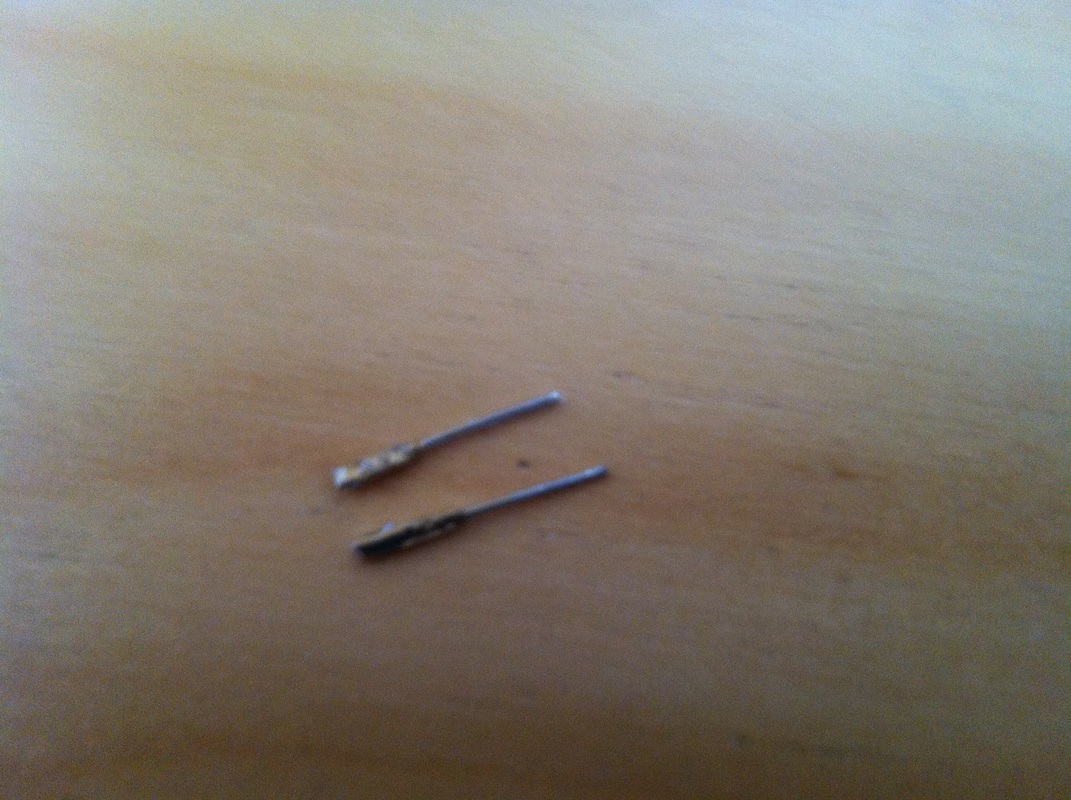
Strip the ends of the wires.
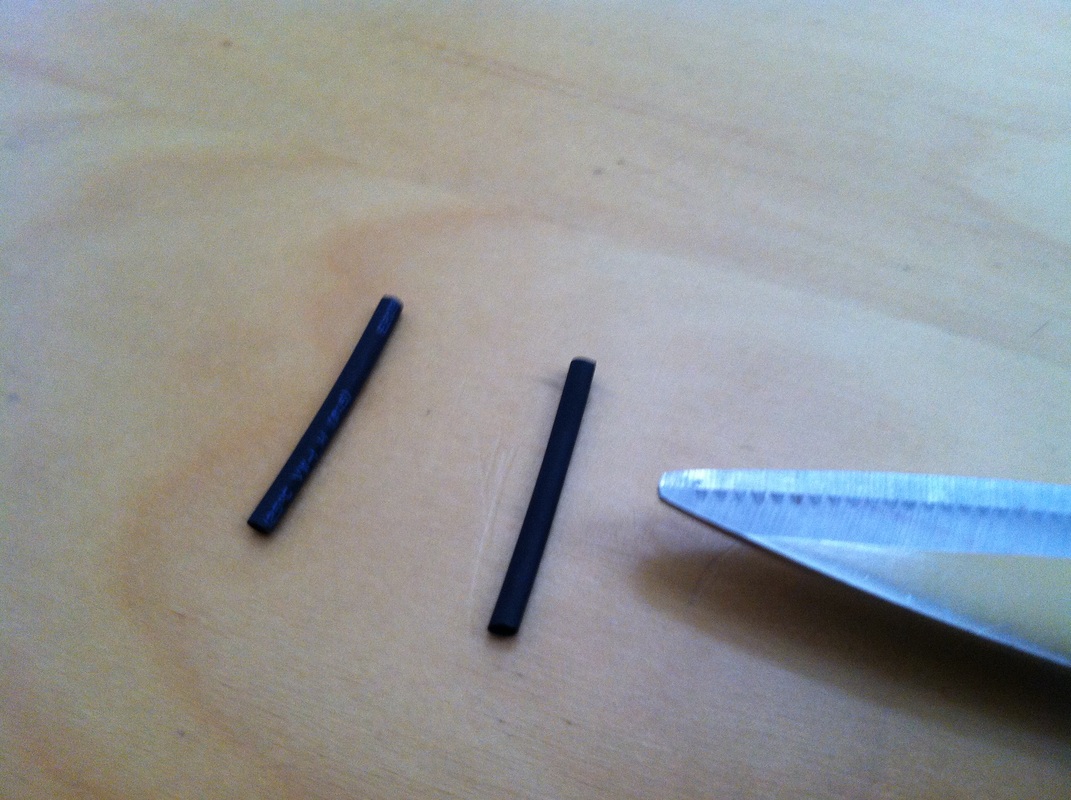
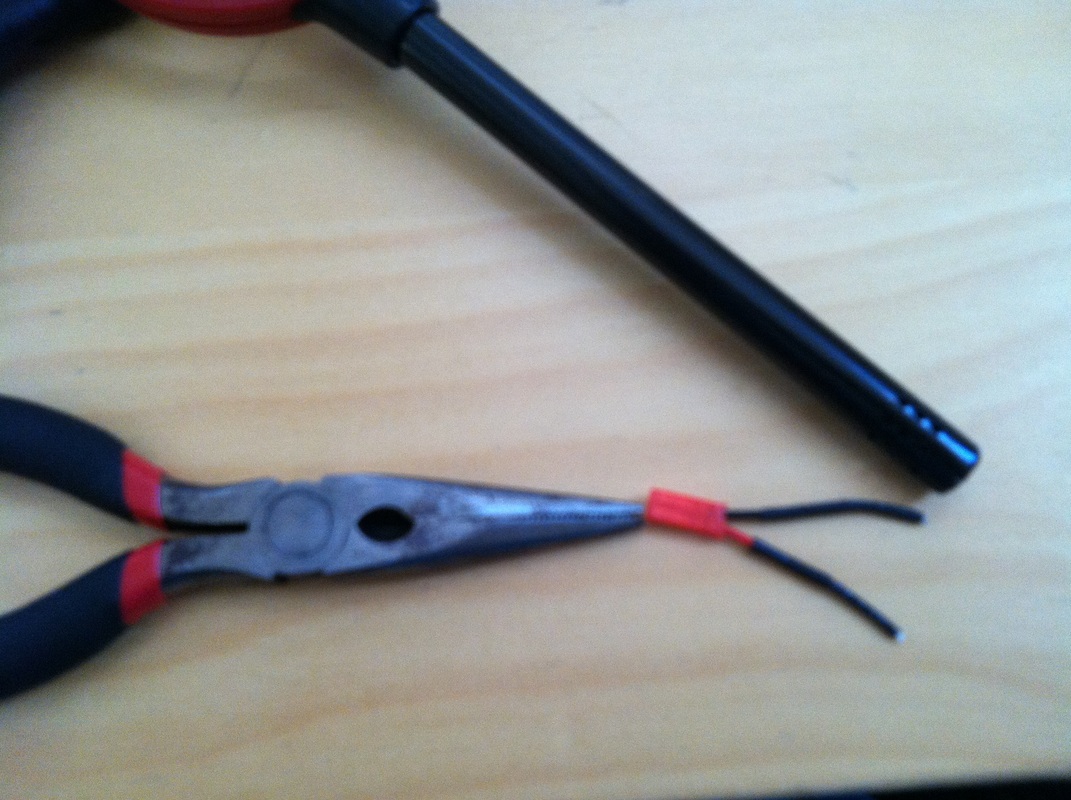
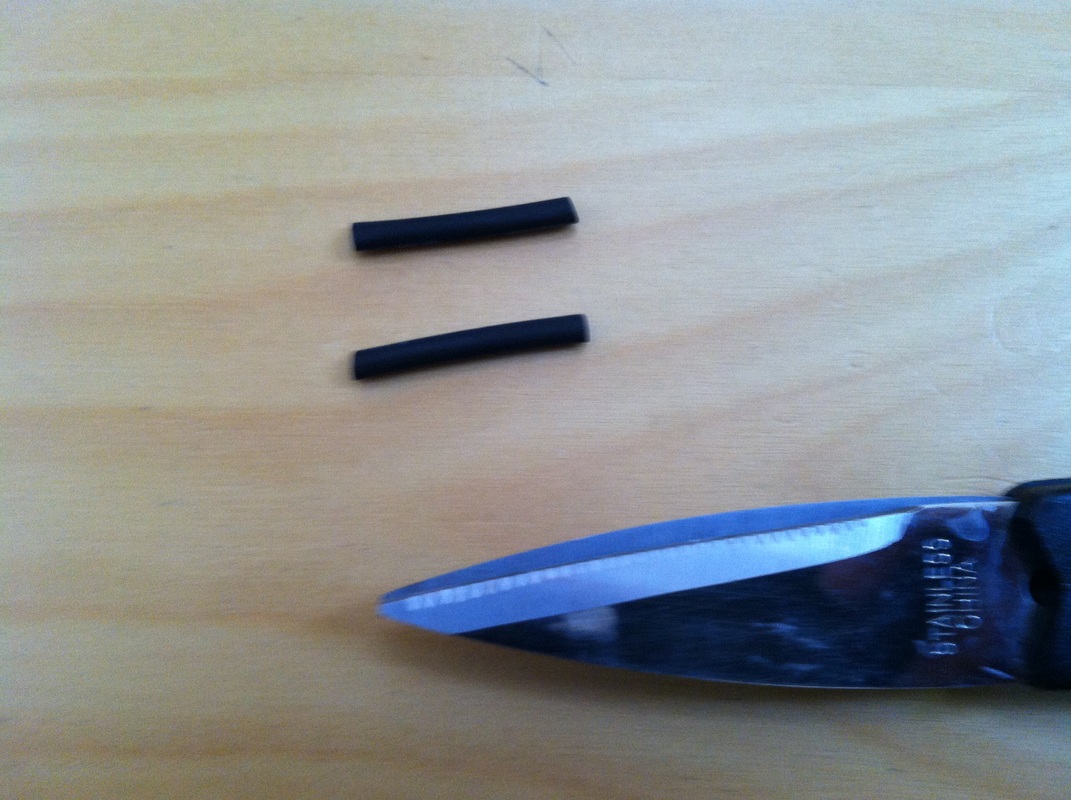
Cut some heat shrink.
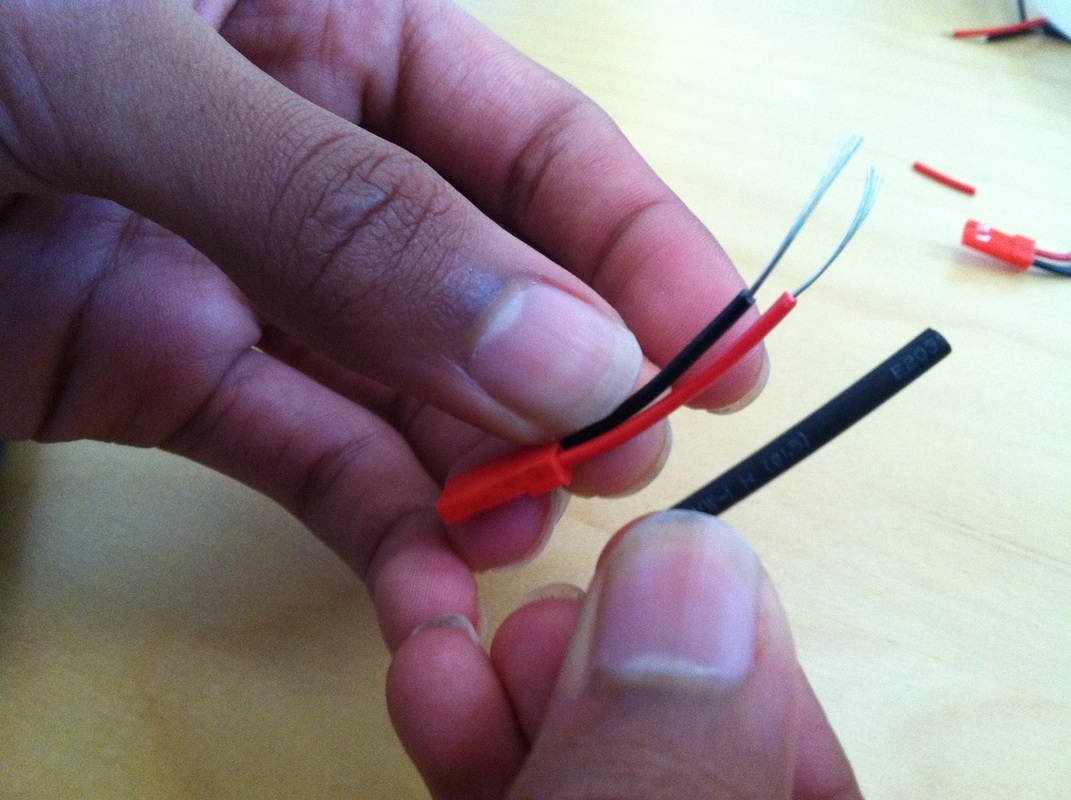
The heat shrink should be a little bit shorter than the wires.
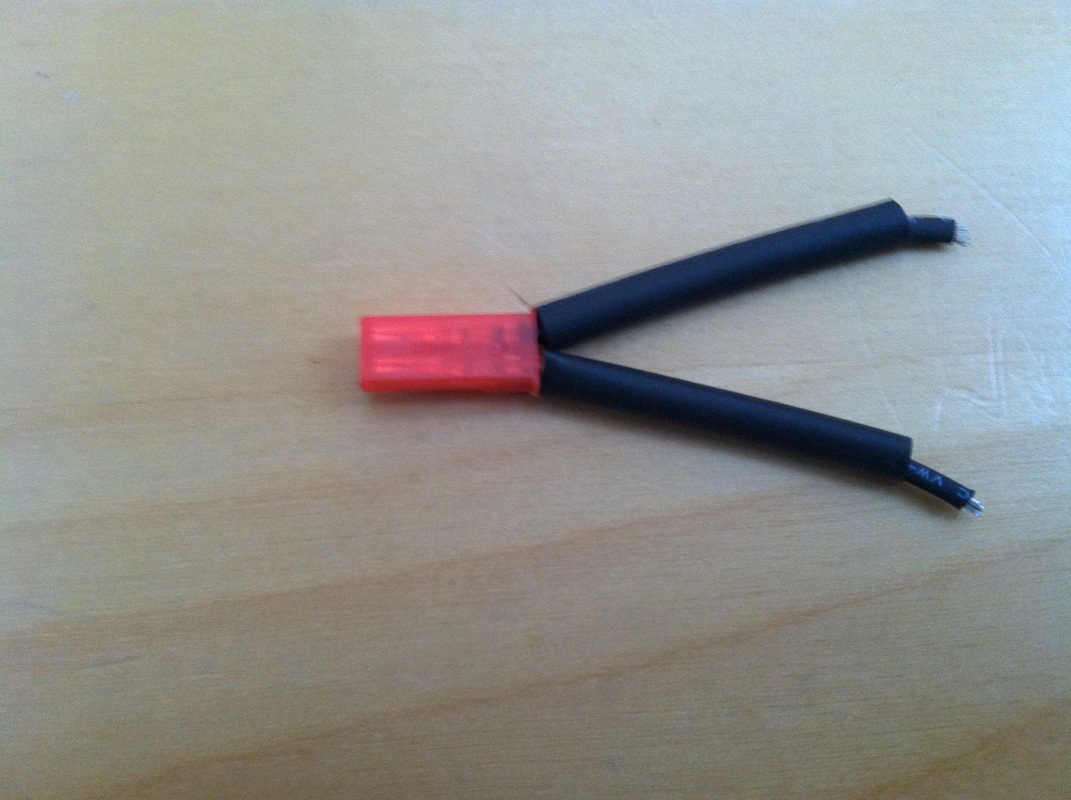
Slide the heat shrink over the wires.
Use a lighter to shrink the heat shrink.
Cut two more pieces of wider heat shrink.
They should be a little bit shorter than the earlier pieces.
Slide the wide heat shrink over the wires.
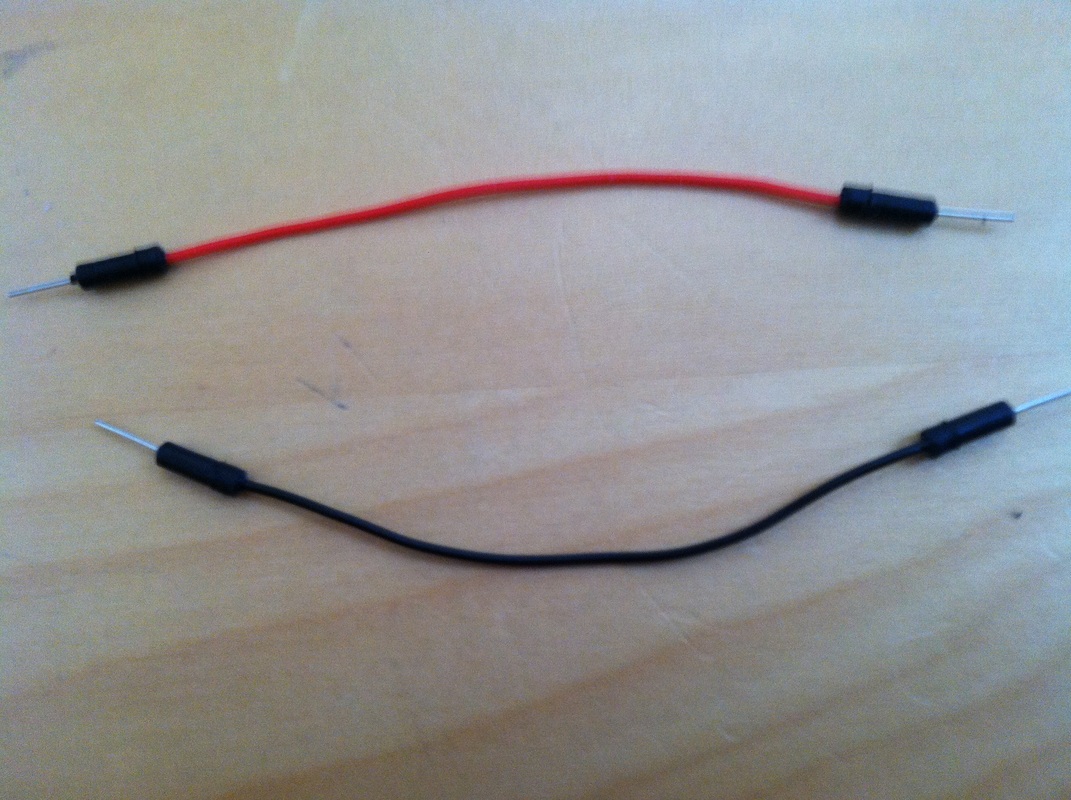
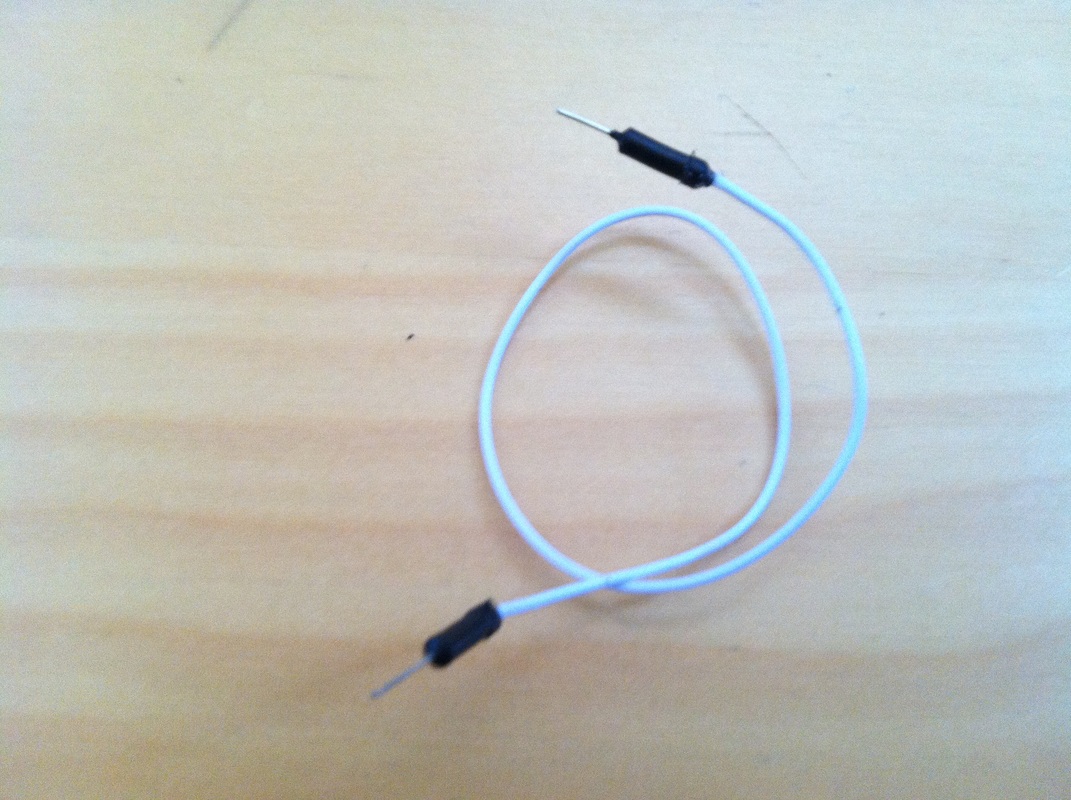
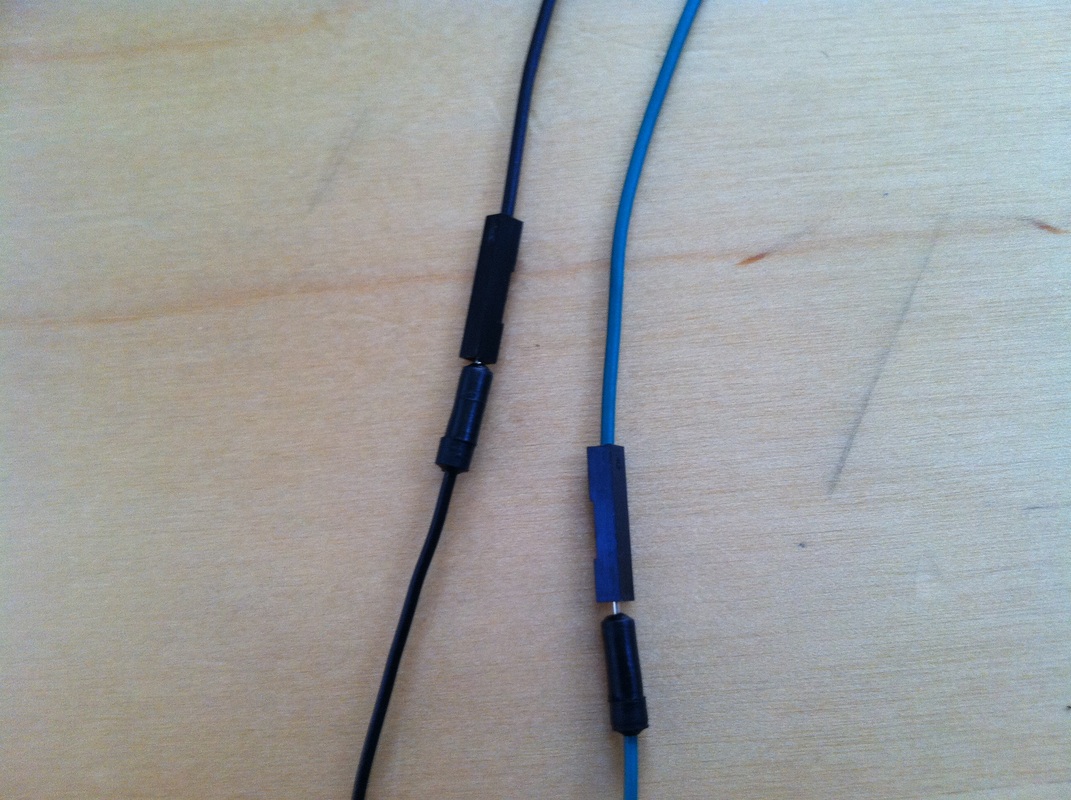
Take two jumpers.
Insert the jumper among the small strands from the connector.
Insert the other jumper.
Slide the wide heat shrink over the jumpers.
Using a lighter, shrink the heat shrink.
Set aside the assembly.
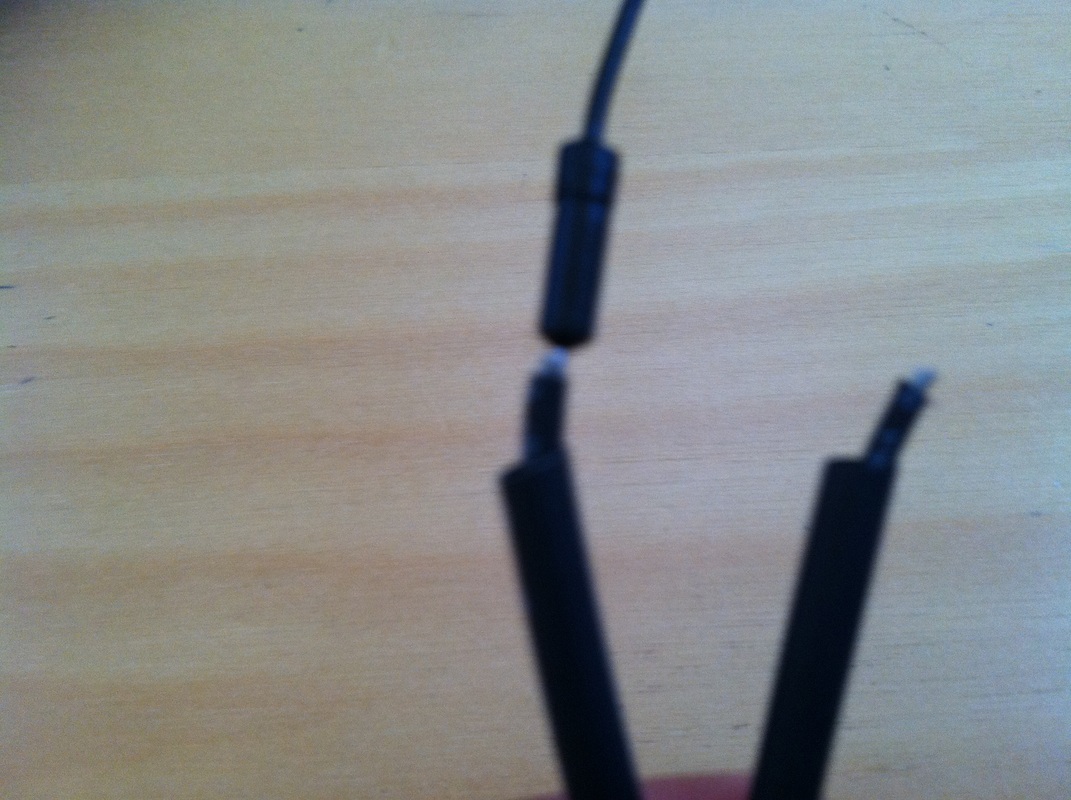
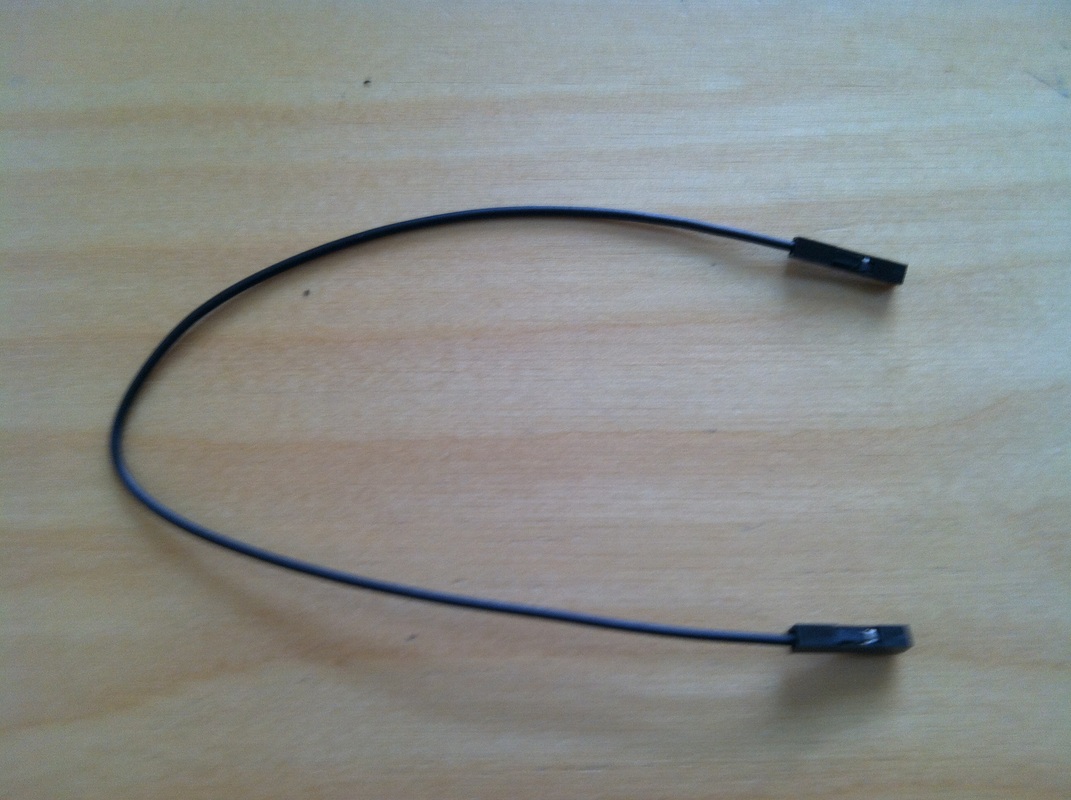
Take another jumper.
Cut off the two ends.
(result)
Remove the plastic casing.
(result)
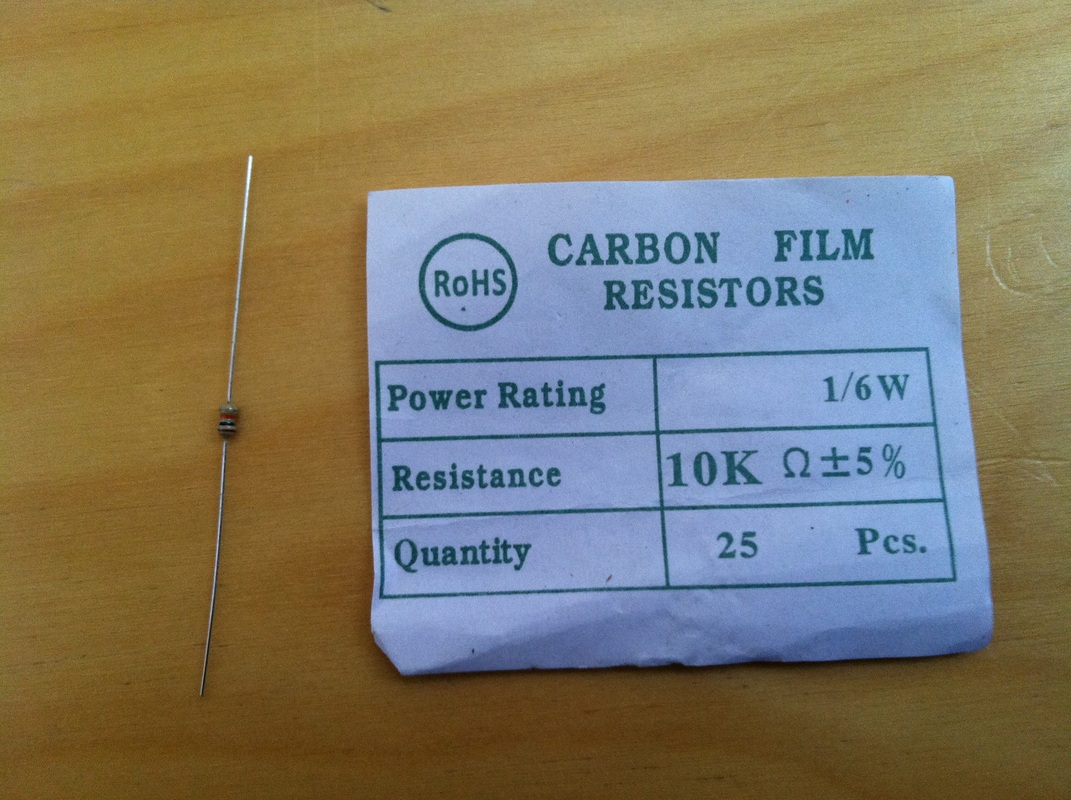
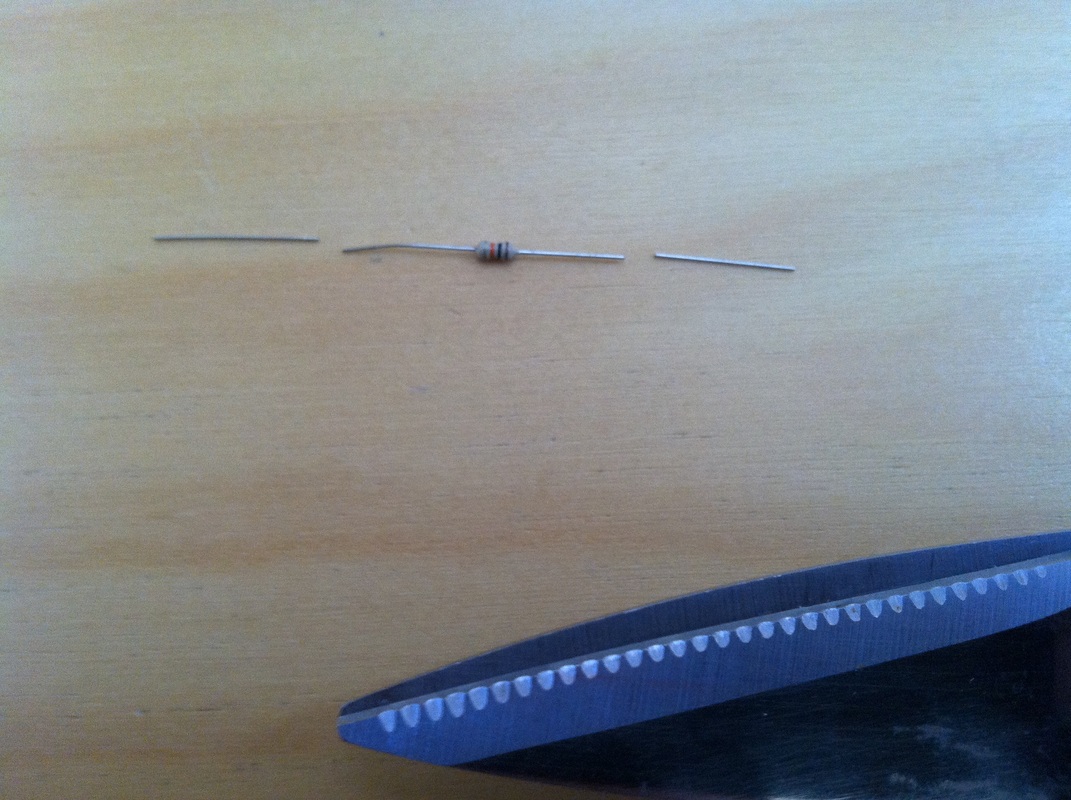
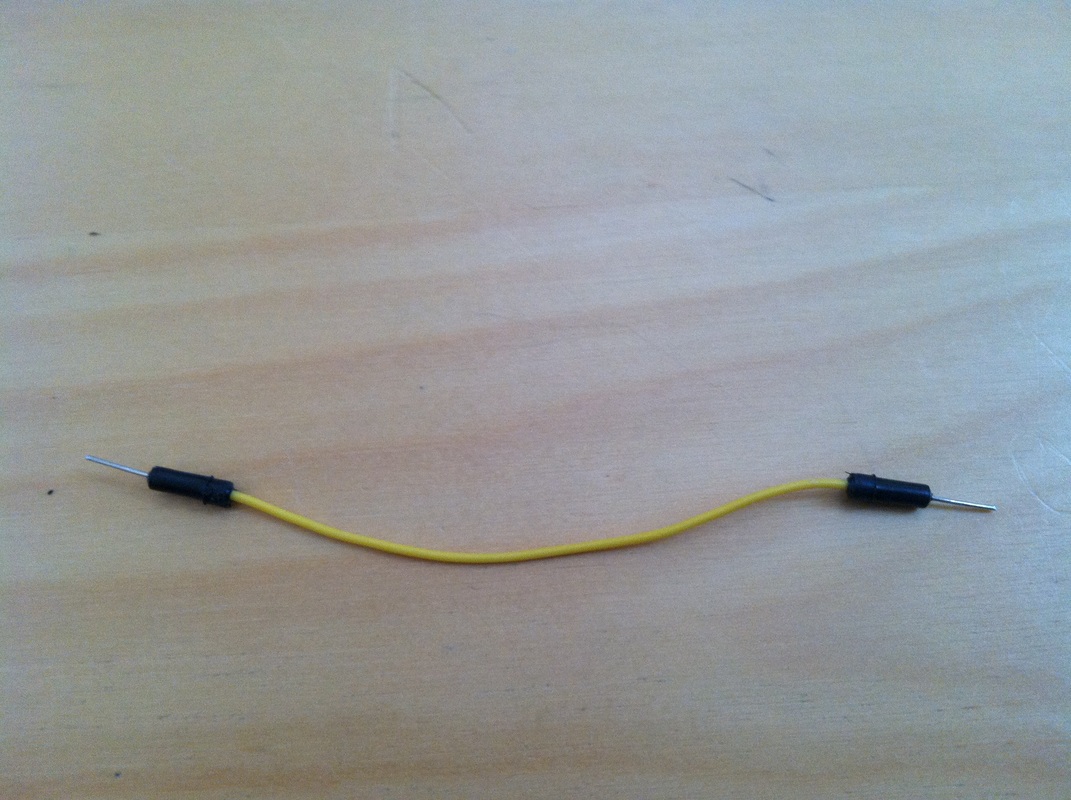
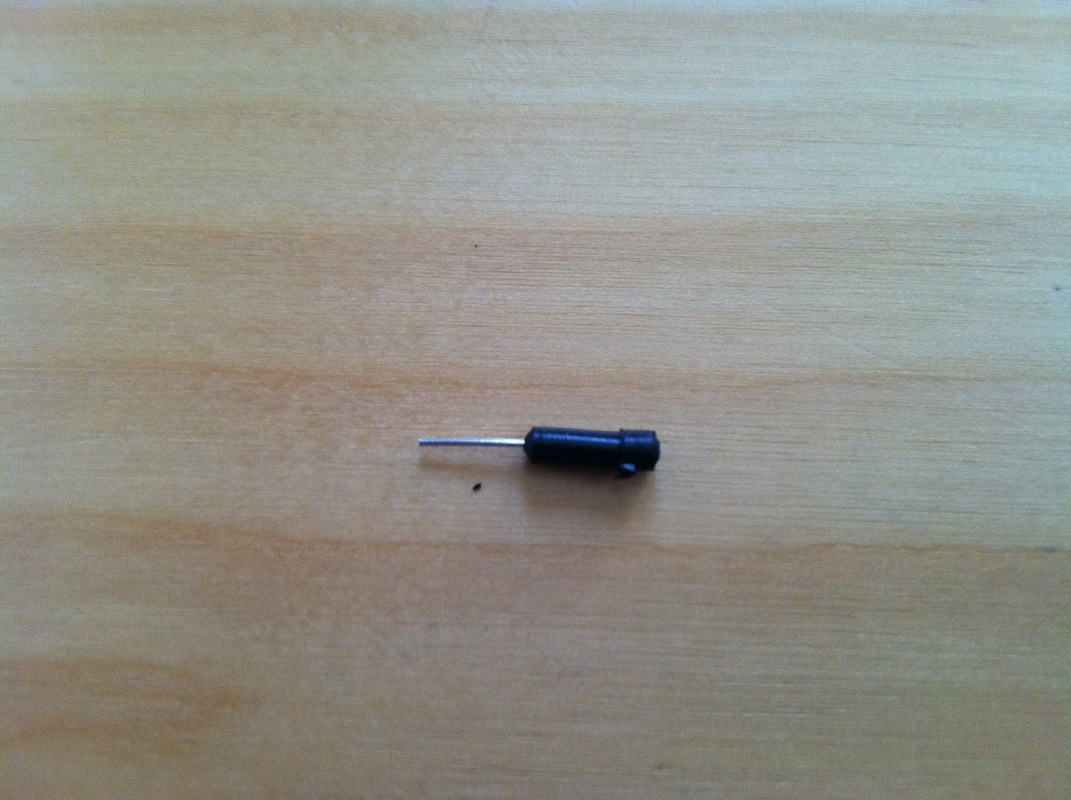
Take a 10K resistor.
Cut off the excess length.
(result)
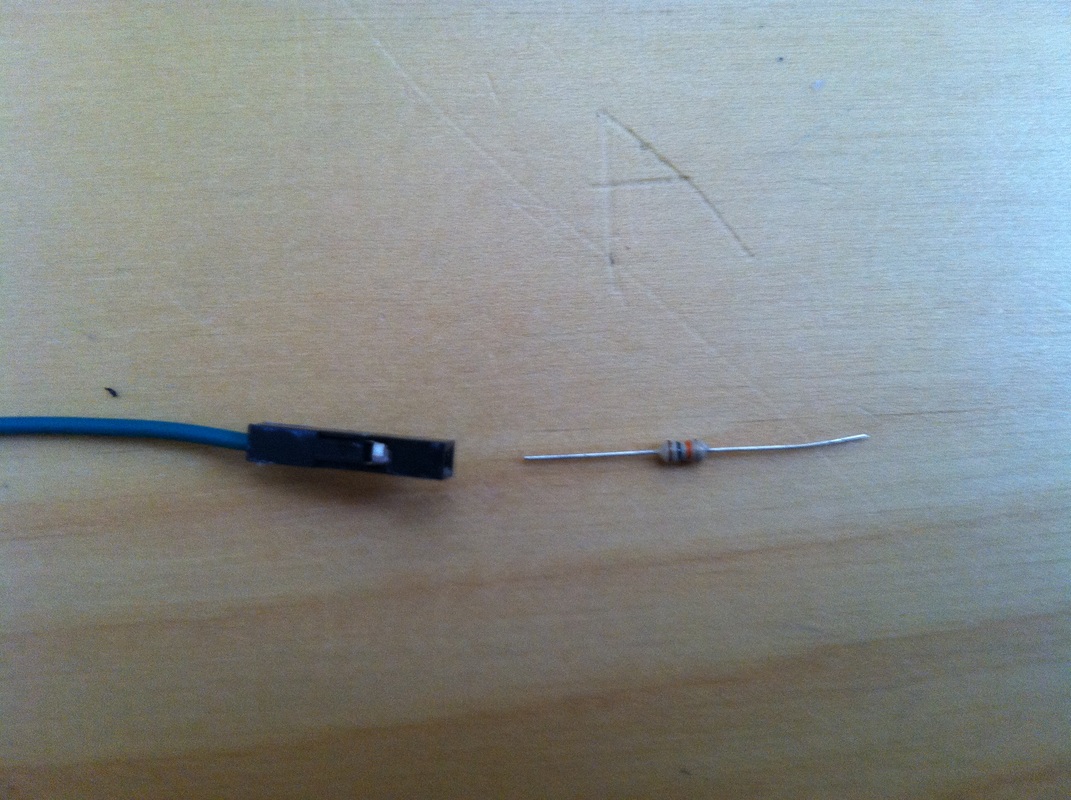
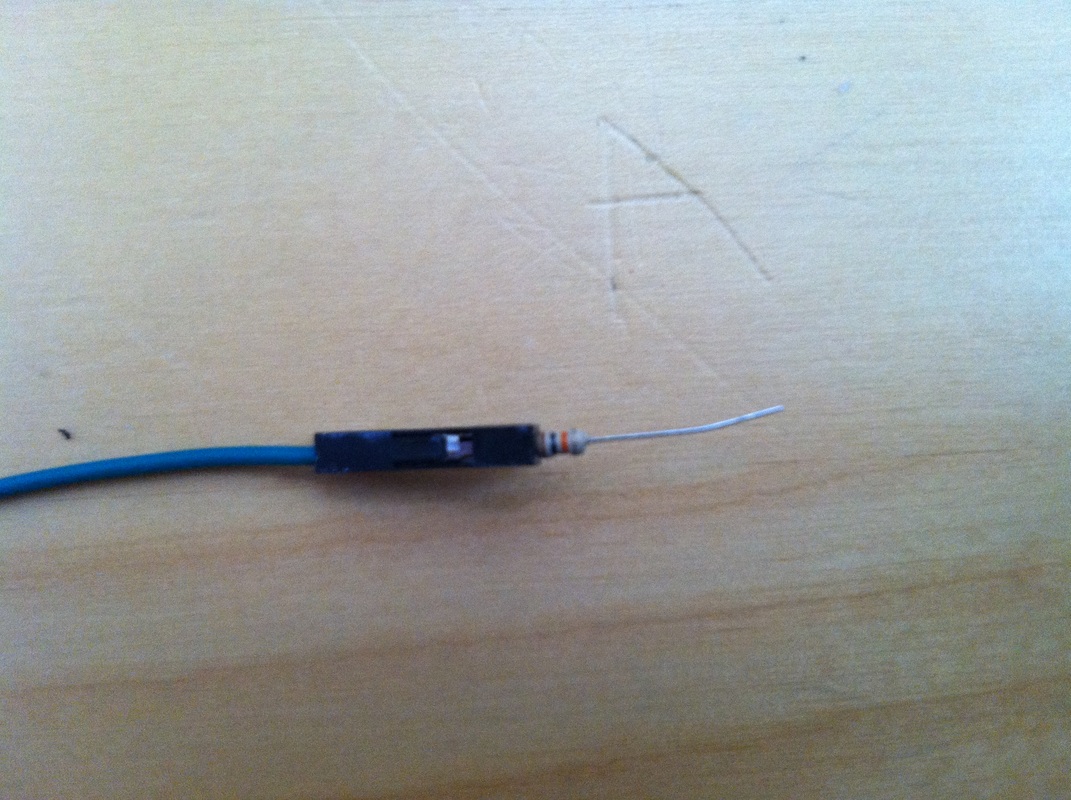
Take a female jumper.
Insert the resistor.
(result)
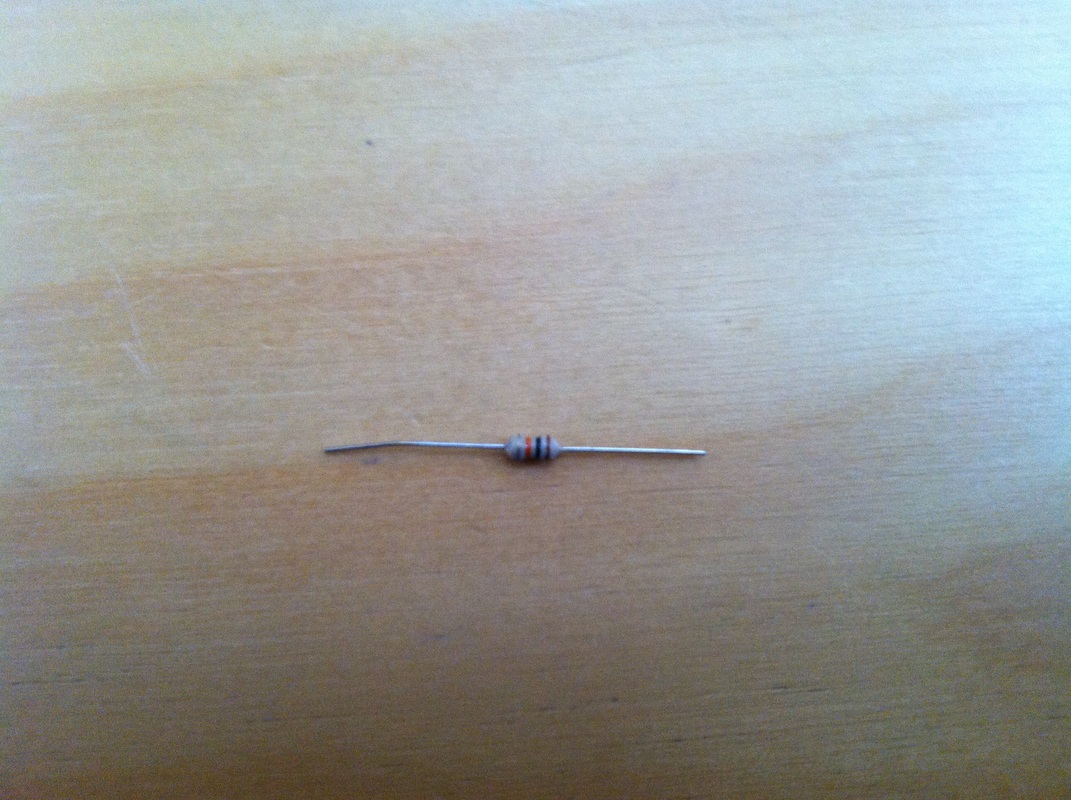
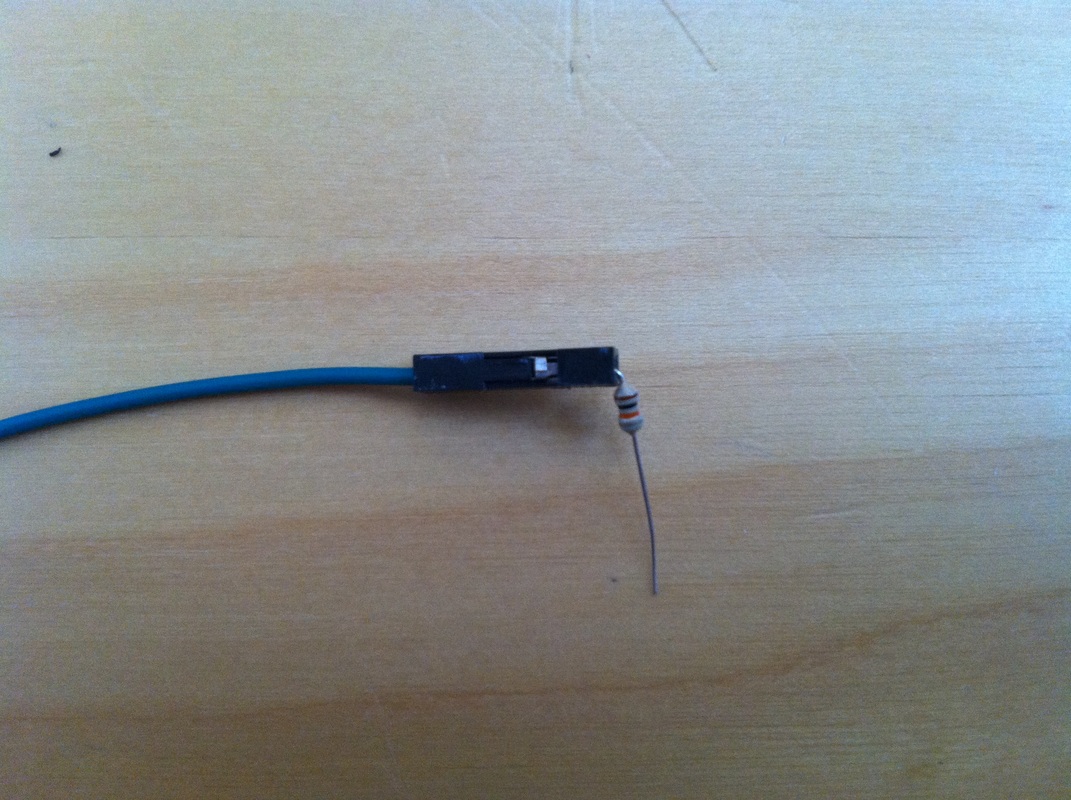
Bend the resistor 90 degrees.
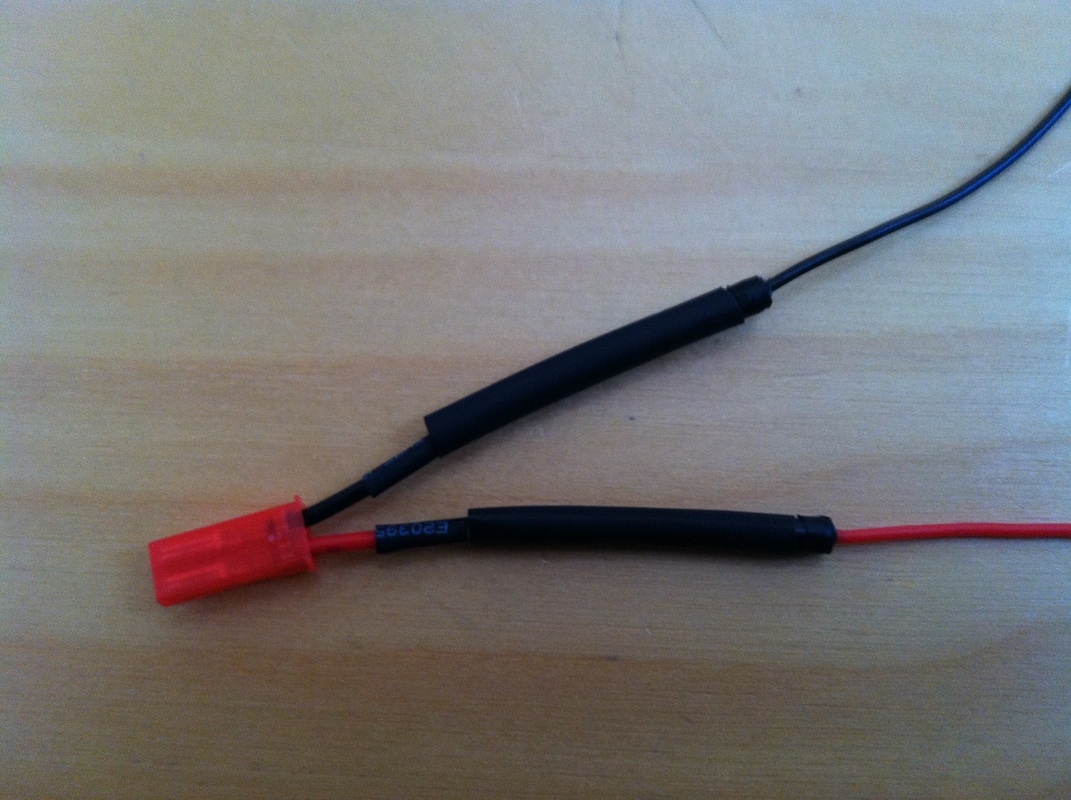
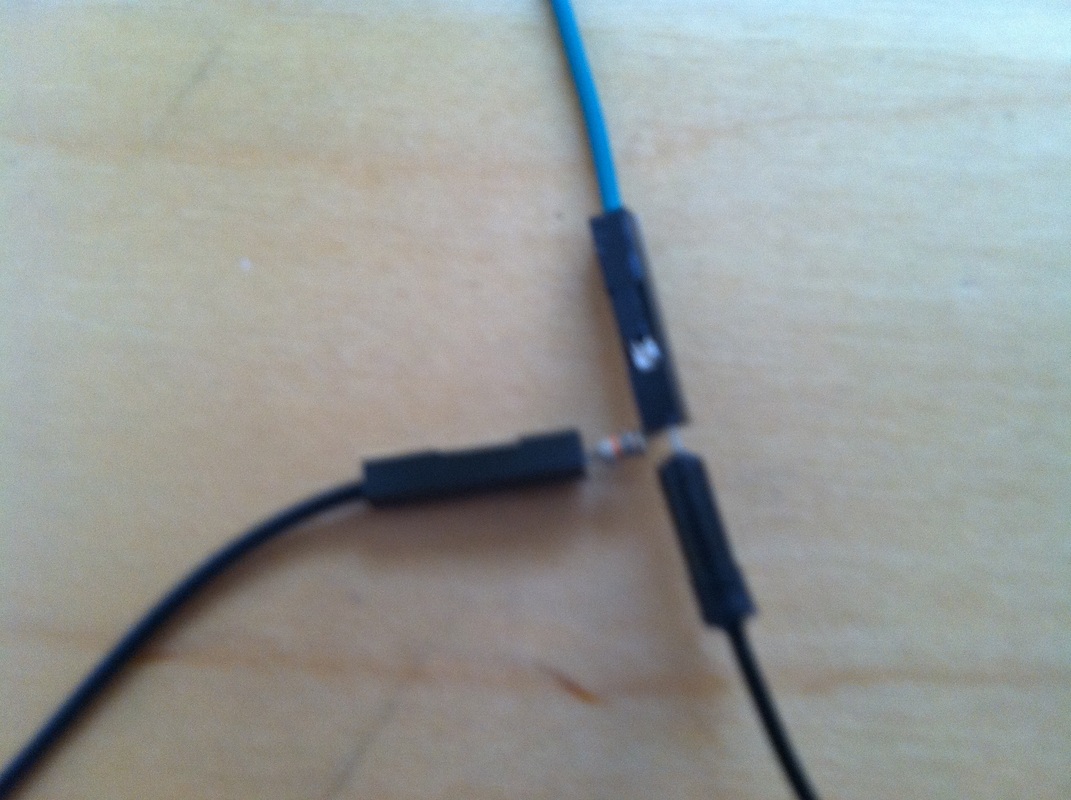
Take the connector assembly from earlier.
Plug the black wire into the female jumper.
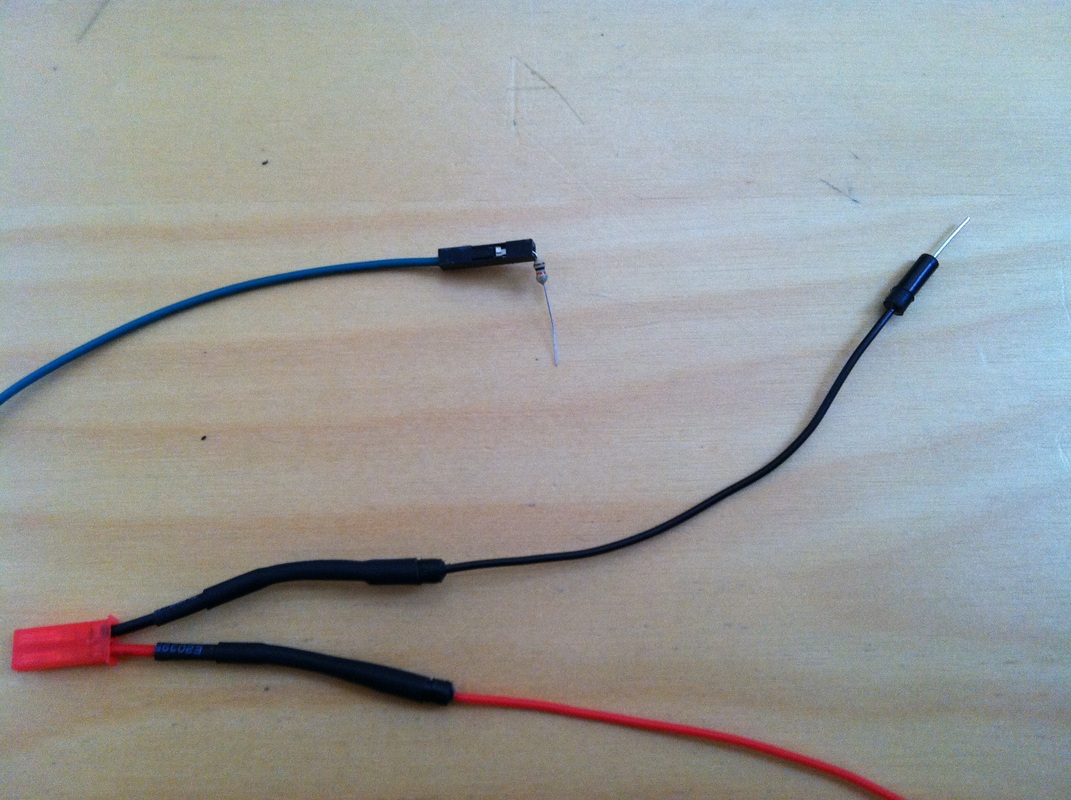
Take a new jumper.
Cut off the end.
Take a new female jumper.
Position it as shown.
Plug the free end of the resistor into the jumper.
Bend the jumper ninety degrees.
Take the end cut off earlier.
Plug it into the female jumper.
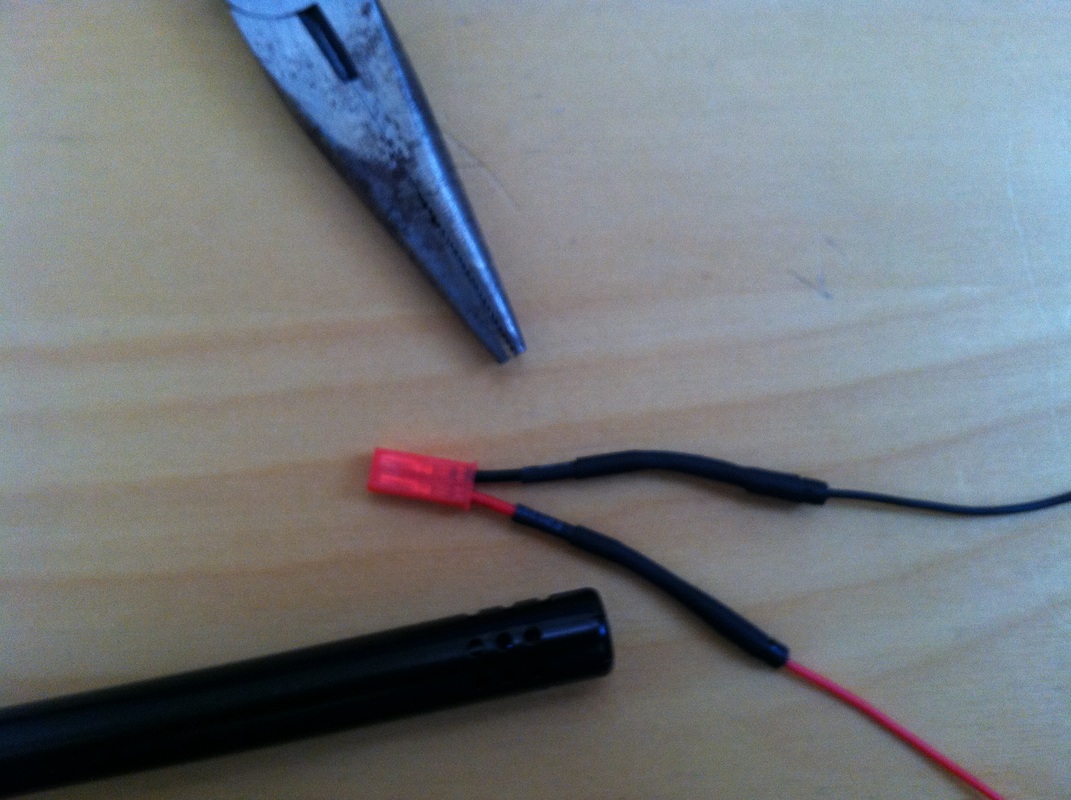
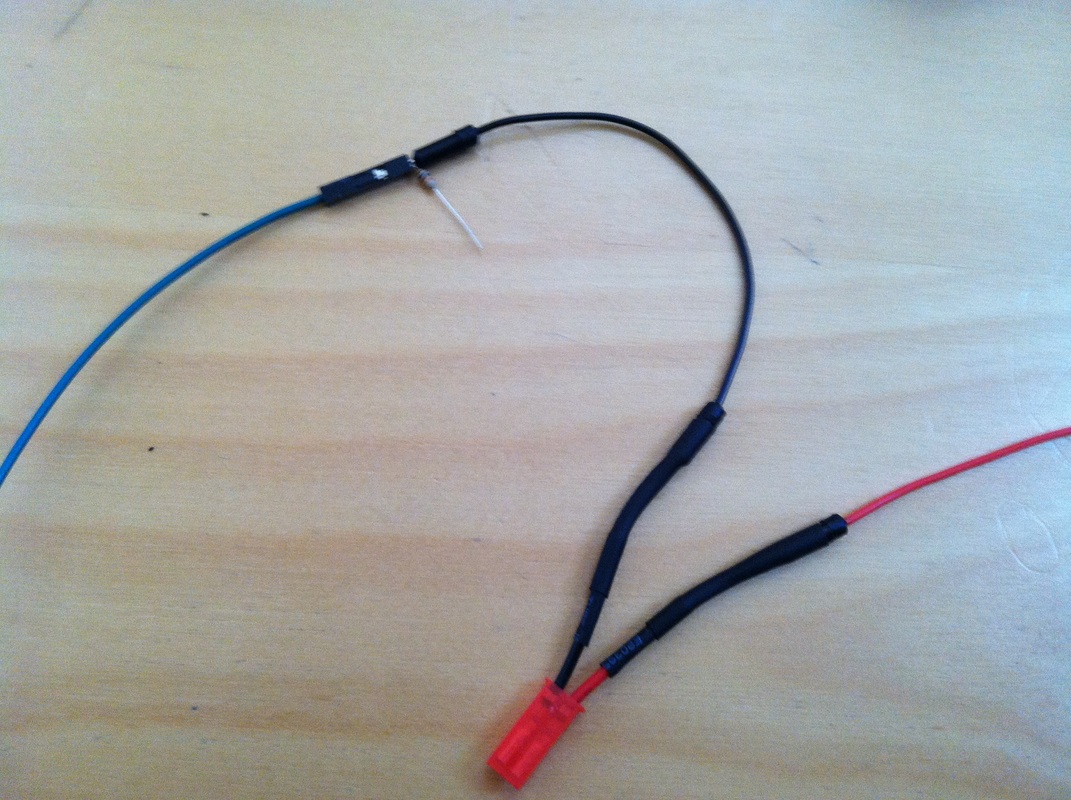
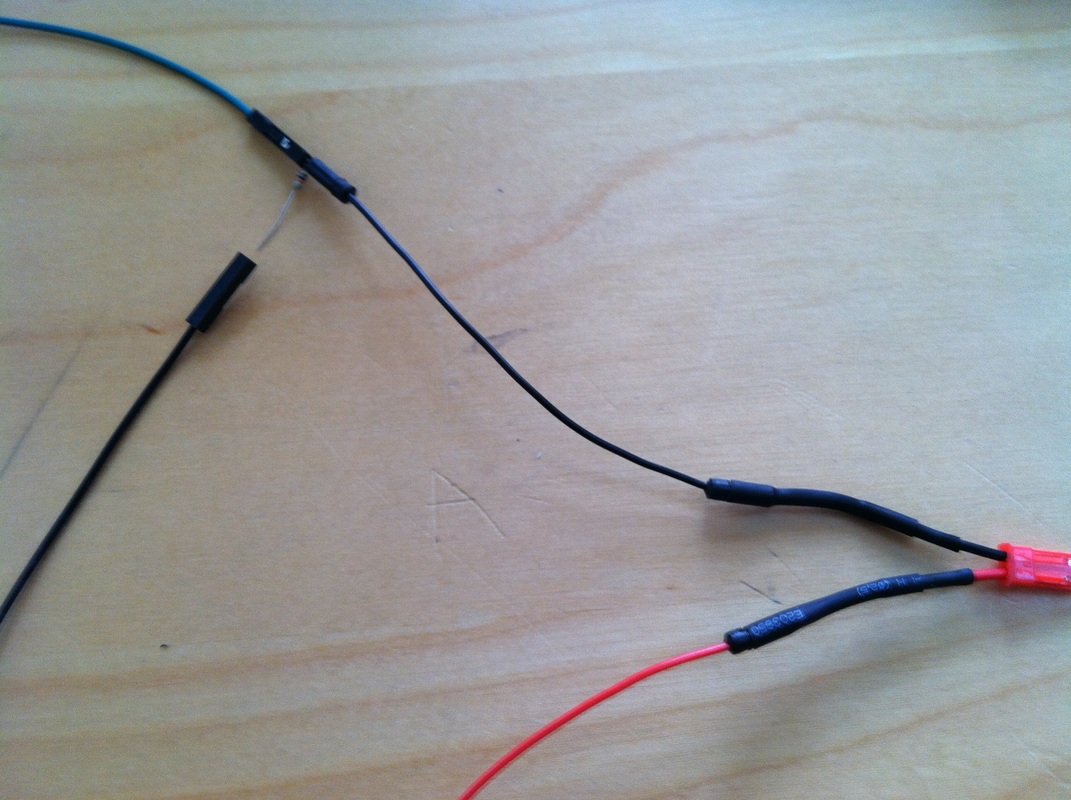
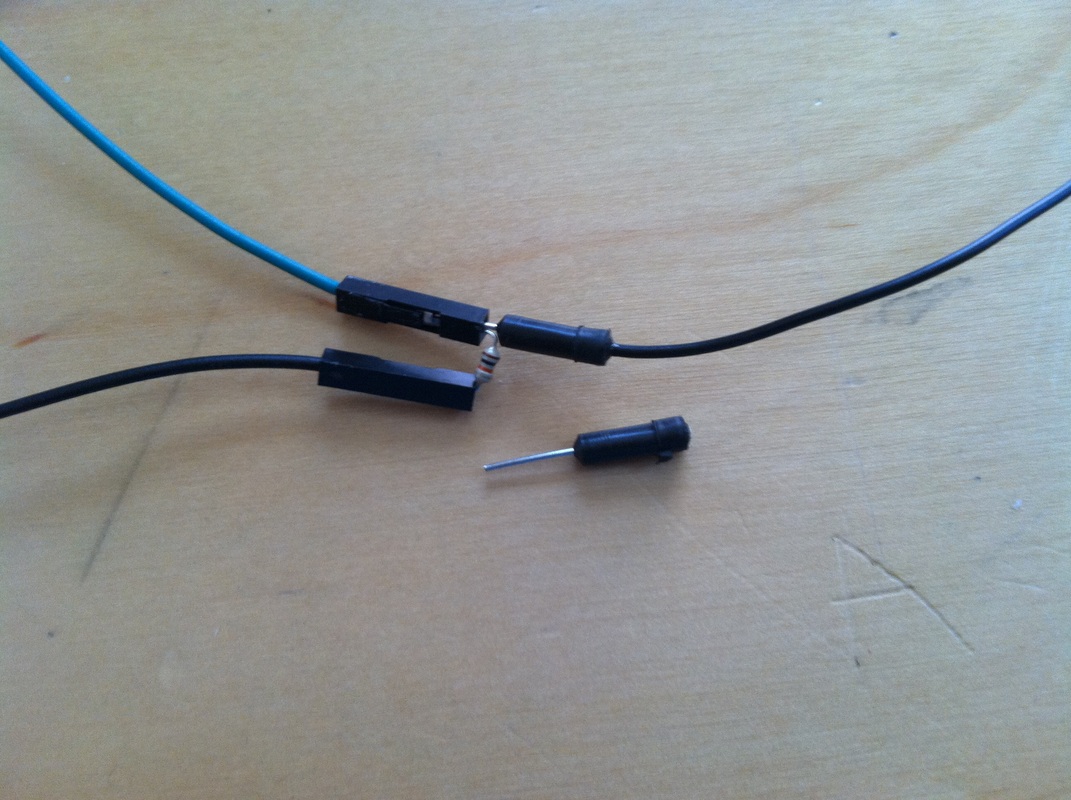
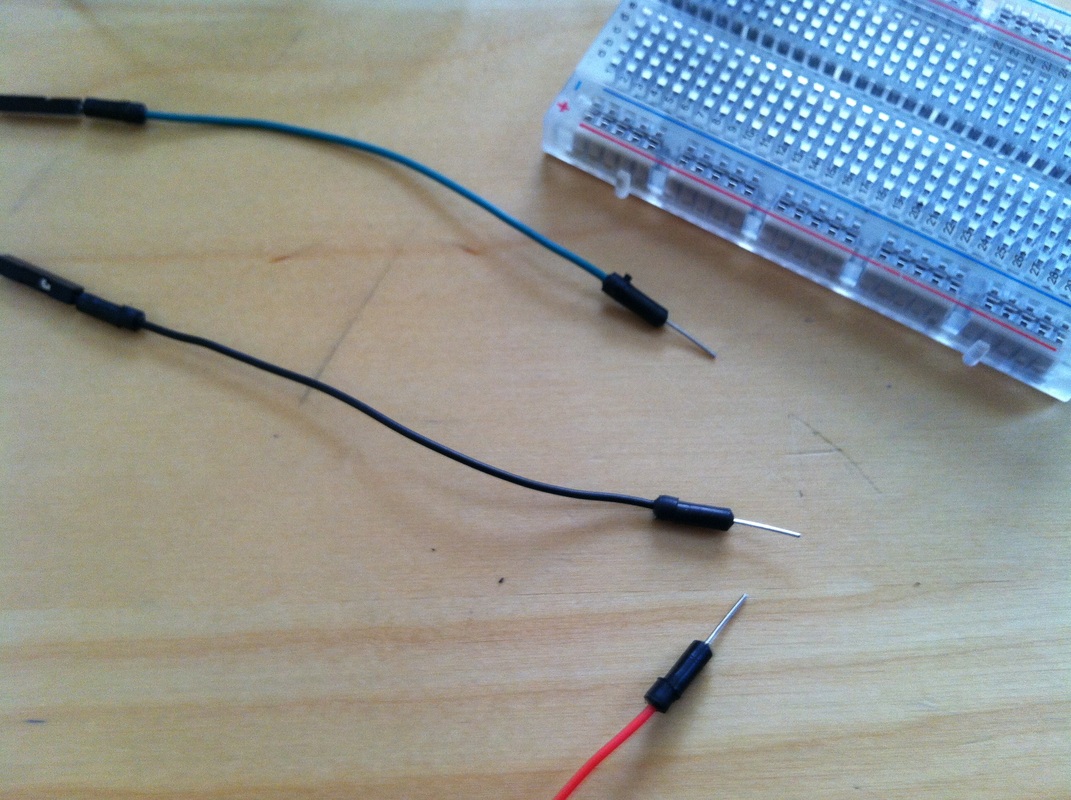
Take two more jumpers.
Plug them into the empty ends of the female jumpers (which are hooked up to the connector)
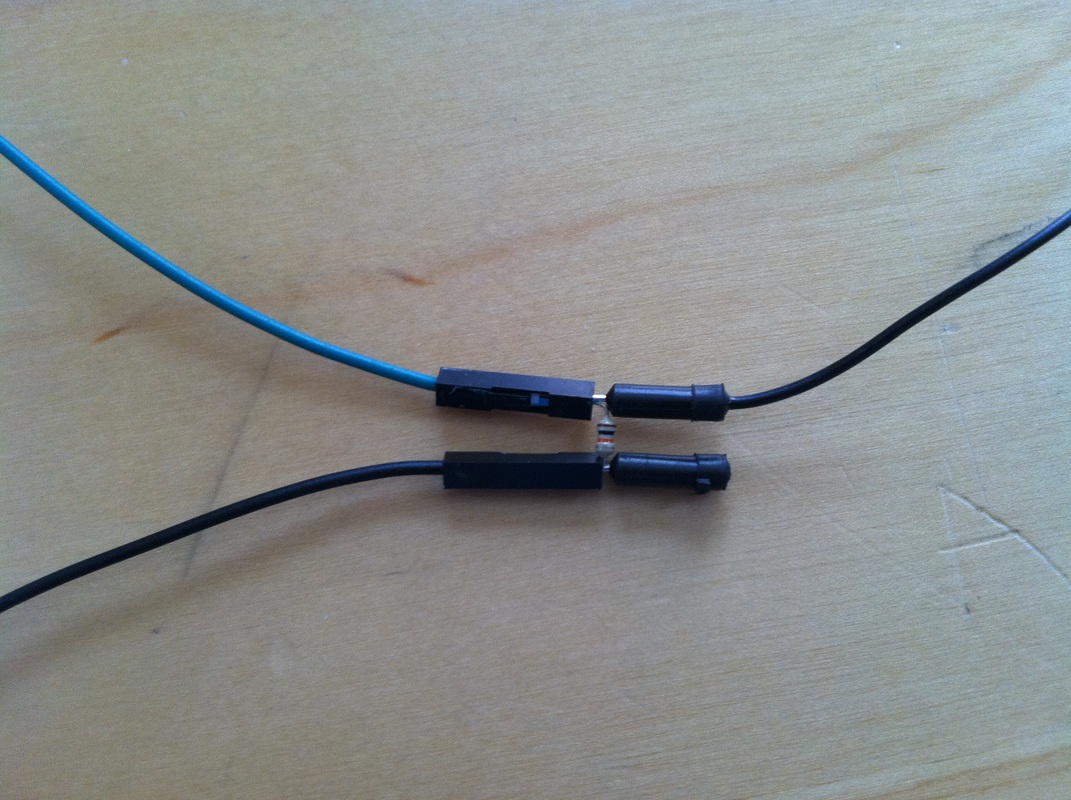
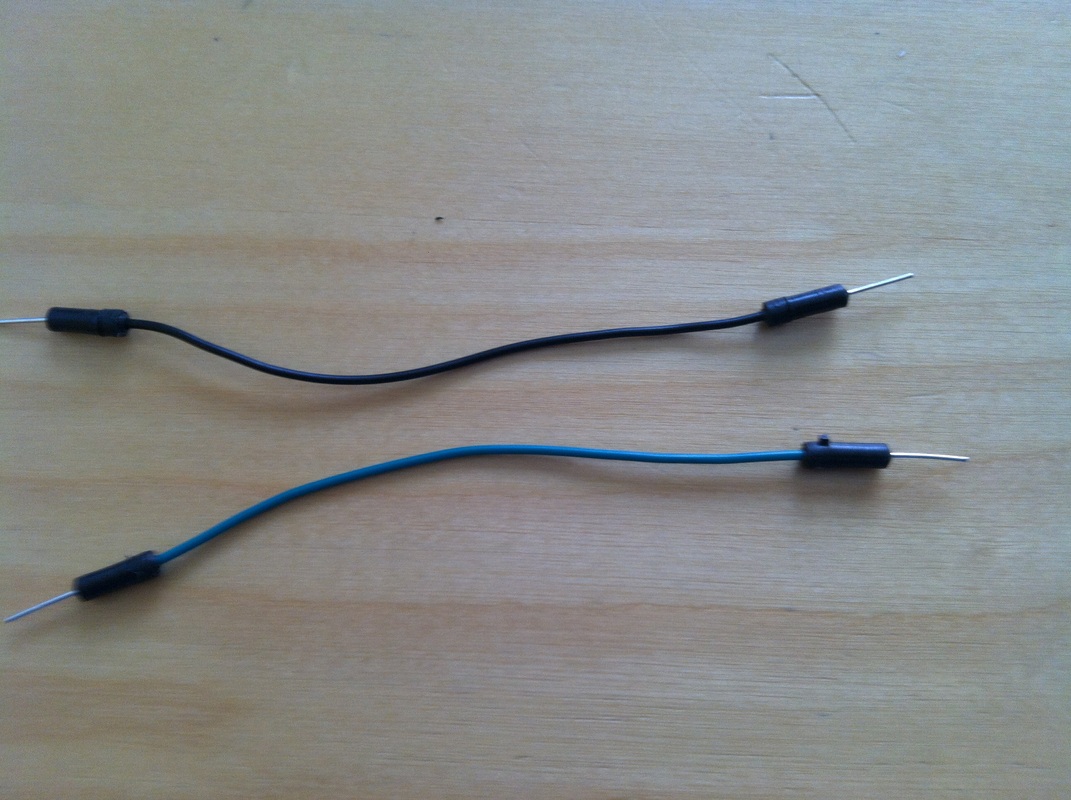
(result)
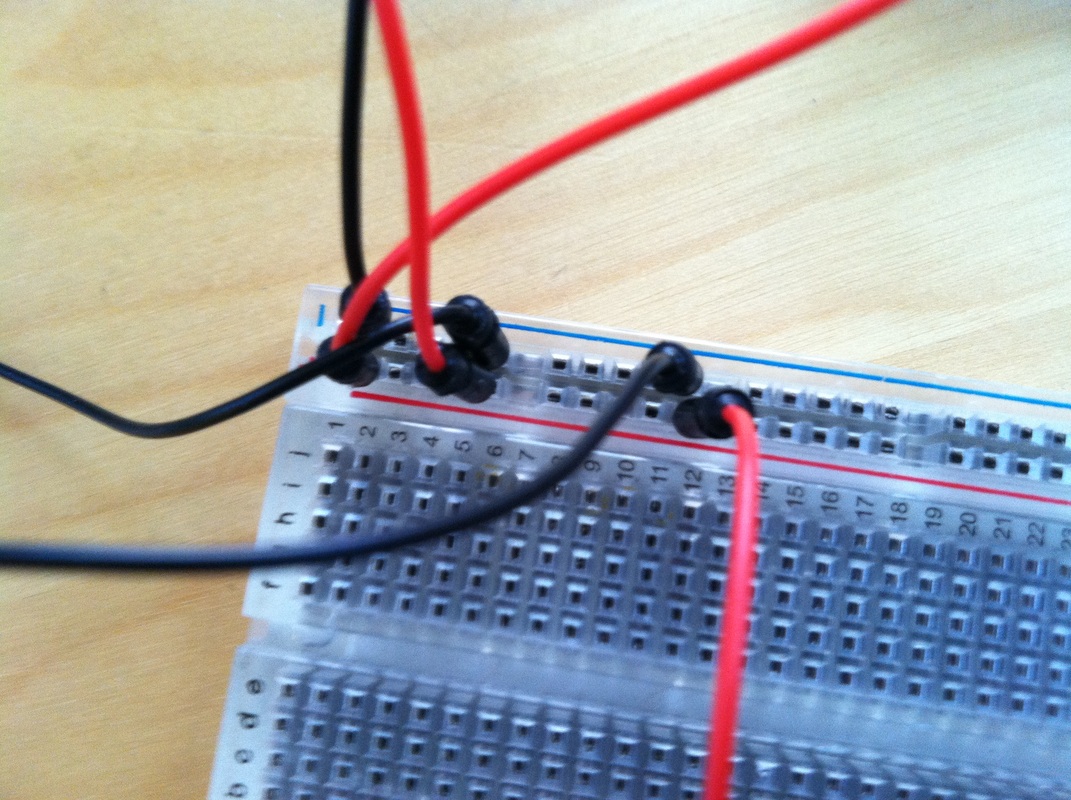
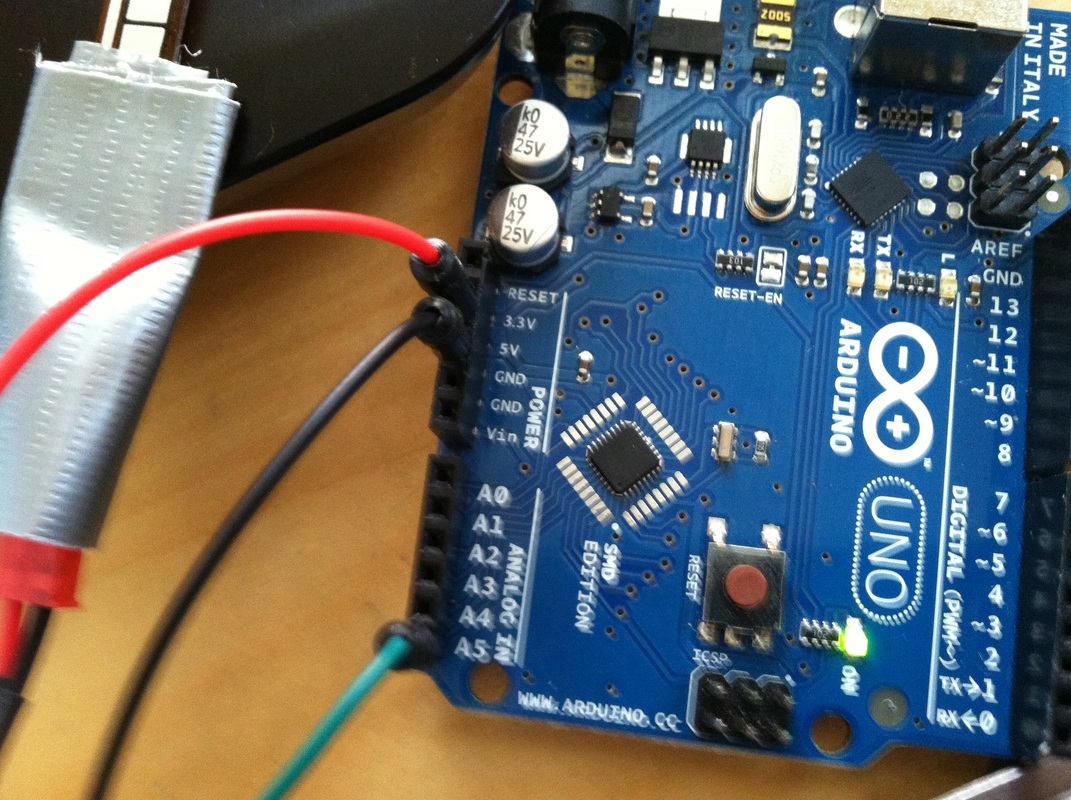
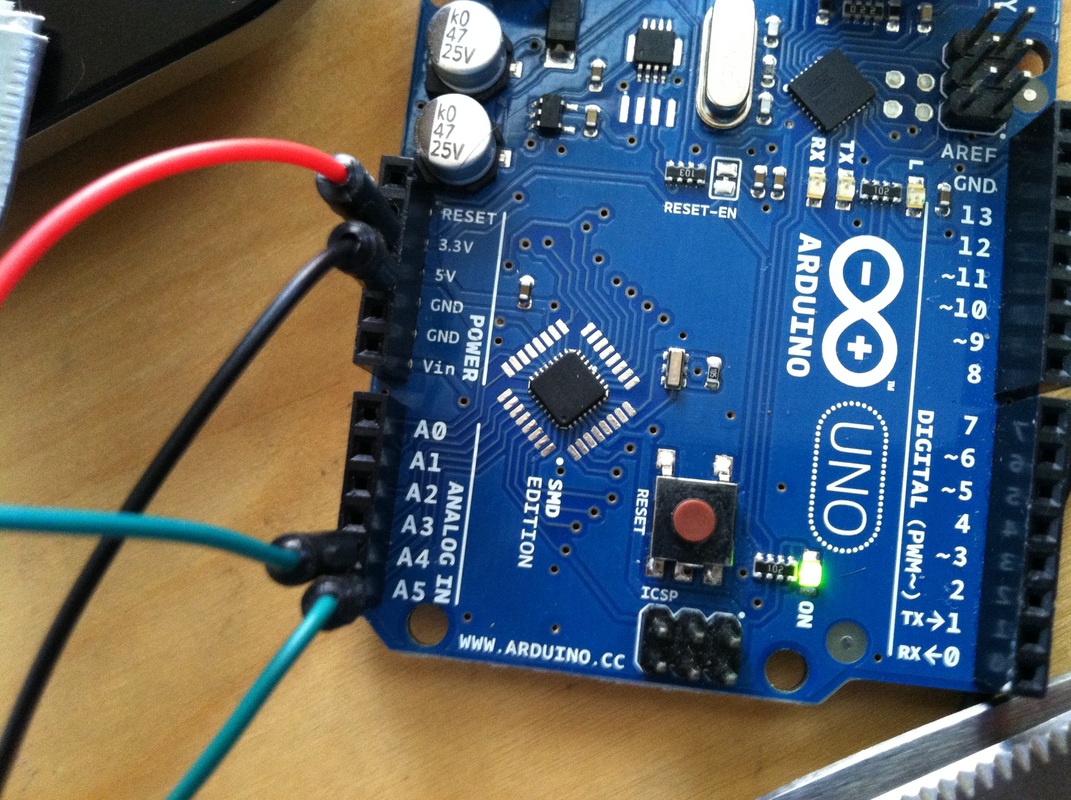
Take a breadboard.
Connect the red wire to the power rail.
Connect the black wire to the ground rail.
Connect the rails to the +5V and GND pins on the Arduino.
Connect the green wire from the connector to an analog input pin.